

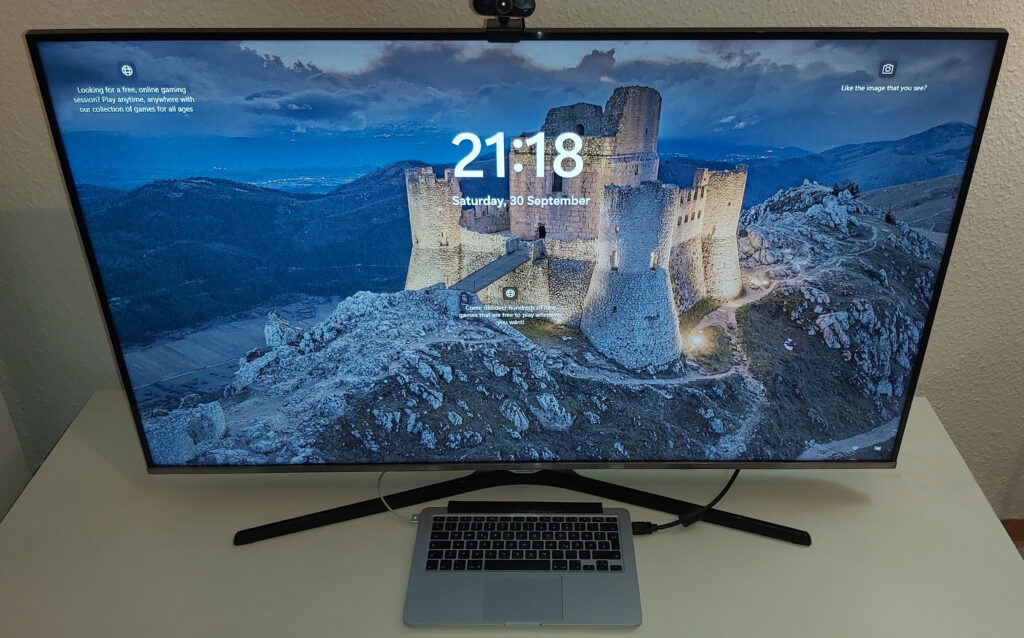
I recently experienced a screen breakage on my MacBook Pro, but fortunately, it continues to function when connected to an external monitor. This got me thinking: could I remove the damaged screen and essentially transform my laptop into a conventional desktop computer?
The answer is yes, but it requires some preliminary steps. You can find a detailed guide on this process here: link to the Lifehacker article.
However, it’s important to note that removing the MacBook screen isn’t a straightforward task. The screen isn’t just a display; it also houses components like the webcam and the crucial Wi-Fi and Bluetooth antennas.
To successfully remove the screen without encountering issues, you’ll need to carefully open your MacBook and follow the prescribed procedure. The Wi-Fi antenna wires should be detached but remain connected to the base. This raises a new challenge: how to manage these wires without creating a mess of unsightly external cables.
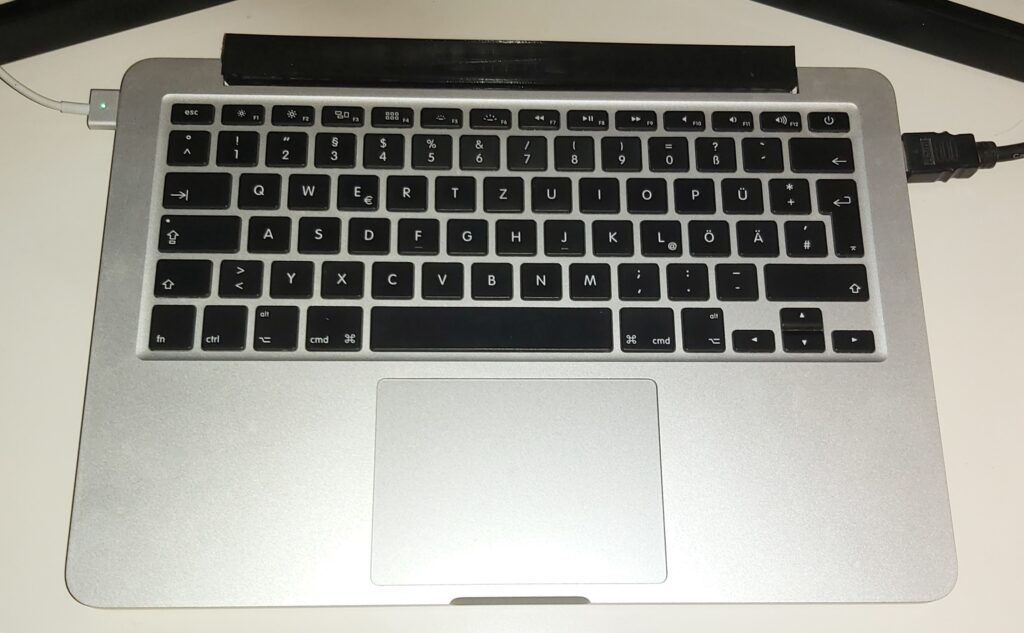
The solution lies in creating a 3D-printed bar with an elegant design, specifically designed to house the Wi-Fi antenna wires. This clever design ensures that the wires are neatly organized and concealed, allowing you to maintain a clean and clutter-free desktop setup.
Below, I’ve provided an example of how to create the bar for a MacBook Retina display A1502. I’ve also included three pictures showcasing the final product and a link to download the STL file for your convenience.
Creating the Bar for MacBook Retina Display A1502:
I wanted to share an example of creating the bar for a MacBook Retina display A1502. This innovative solution not only allows you to remove the MacBook screen and use it as a desktop but also ensures that your Wi-Fi antenna wires are neatly organized. Here’s a brief overview of the process:
Step 1: Begin by carefully opening your MacBook following the procedure mentioned in the guide I provided earlier.
Step 2: After removing the screen, you’ll need to manage the Wi-Fi antenna wires, ensuring they remain connected to the base.
Step 3: To address this challenge, a 3D-printed bar with an aesthetically pleasing design can be created. This bar is specifically designed to house the Wi-Fi antenna wires, keeping them organized and concealed.
Step 4: To give you a better idea of what the final product looks like, here are two pictures showcasing the 3D-printed bar and how it elegantly manages the Wi-Fi antenna wires.
Step 5: For those who are interested in creating this solution for their MacBook Retina display A1502, I’ve provided a link below to download the STL file for the 3D-printed bar. This file can be used with a 3D printer to produce the bar easily.
This is the 3D model of the bar, ready to be converted to G-code for printing with a 3D printer.
This innovative solution not only enhances the functionality of your MacBook but also adds a touch of elegance to your desktop setup. Enjoy your clutter-free workspace and the benefits of a dual-purpose computer!
")


 - from command line")
